Are you tired of frequent screen timeouts in Windows 11? Let me help you regain control of your Windows 11 so you can adjust the screen timeout to your preference.
What is the Screen Timeout Feature in Windows?
The screen timeout feature in Windows is a power management setting used to determine how long your computer screen will remain active. If a computer is not in use then after a certain time it will turn off the screen and lock the computer.
Windows allows us to adjust the timeout as per our usage. We can increase the timeout or decrease the timeout to manage our screen. We can decide how long the screen will be active or after how long the computer screen should be turned off if the computer is not in use.
The problems you face due to uncontrolled screen timeout on your Windows 11
Uncontrolled screen timeout leads to several problems that you need to pay attention to.
1. Frustrated by frequent screen timeouts
It is very frustrating when you are working on your computer and you leave it for a few minutes and it locks your PC. It keeps locking your screen and you get frustrated entering your password again and again.
2. Battery drains due to the screen being constantly active
Screen timeout plays an important role in saving your laptop battery. If the timeout is not set up properly and your screen is active for a long time, it drains your battery. Screen timeout is really helpful in improving battery performance and computer usage.
3. If your screen is active for a long time it can be a risk to your privacy
Screen timeout helps protect your privacy. When you step away from your computer and your screen remains active, it could be a privacy concern. But with the help of the screen timeout feature in Windows, you can set it so that it will lock your screen when you are not using your computer for a specified period of time.
Apart from these problems, there are many other problems that can affect your computer usage or computer performance due to uncontrolled screen timeout.
What will you learn from this article?
You'll discover how to easily adjust the screen timeout on your Windows 11, keep your display active as long as you want, or even reduce your screen timeout so that it turns off your screen faster when you stop being active on your computer.
I will help you adjust the screen timeout according to your usage. So please bear with me throughout the article. After this article, you will be able to fix the screen timeout problem and control the screen timeout feature on your computer.
How to Change Screen Timeout in Windows 11?
You can change the screen timeout setting from the Control Panel and Settings app.
Let's start with a simple and quick way. The Settings app in Windows 11 is much simpler and faster than the Control Panel.
So first I will tell you how you can adjust screen timeout using the Settings app of Windows 11 and then I will also tell you how you can adjust screen timeout settings using Control Panel.
Follow the steps mentioned below
-
Press the Start button type "Settings" and open the Settings app or you can press Windows + I to open settings.
-
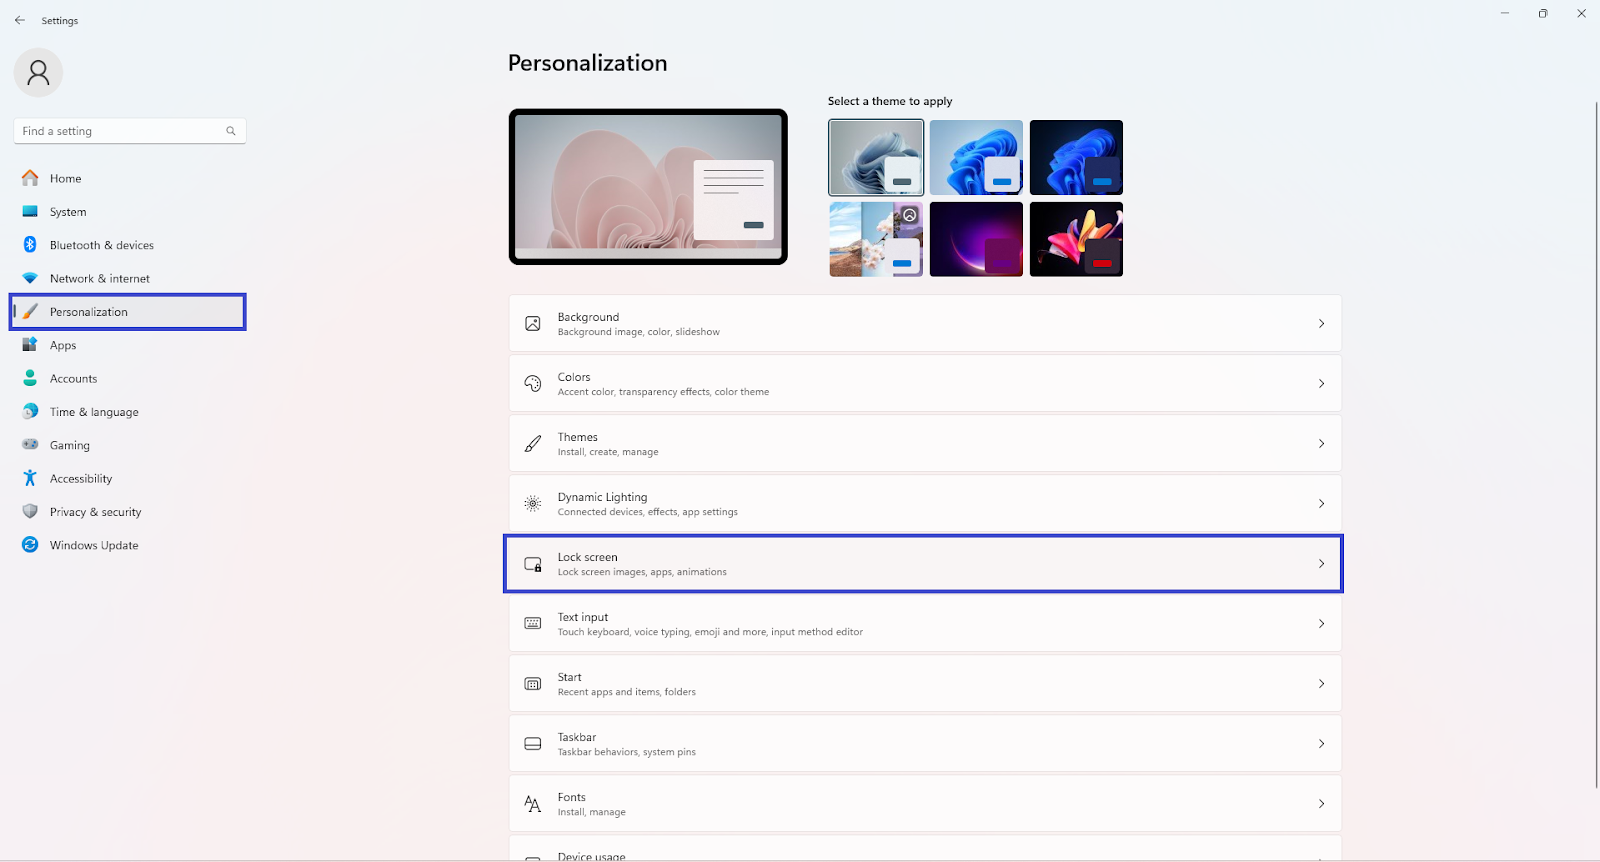
Select "Personalize" in the left-hand side panel, and you will find the "Lock screen" option in the main body.
-
Now, click on "Lock screen."
-
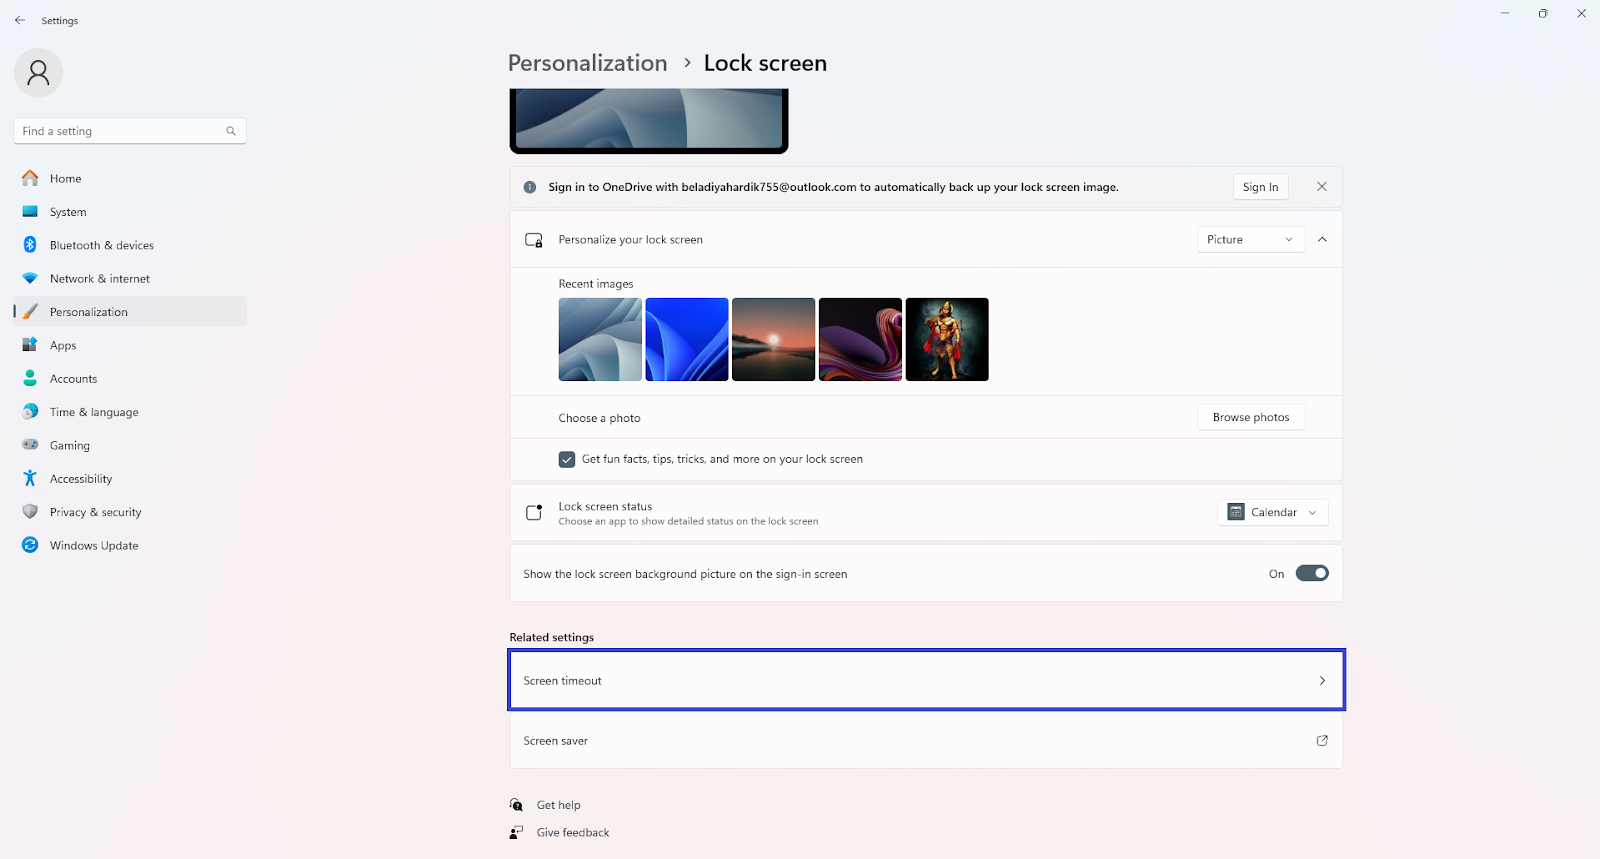
Here, you will find the screen timeout setting. Simply click on it.
-
In the next step, you will see the settings to change the timeout duration.
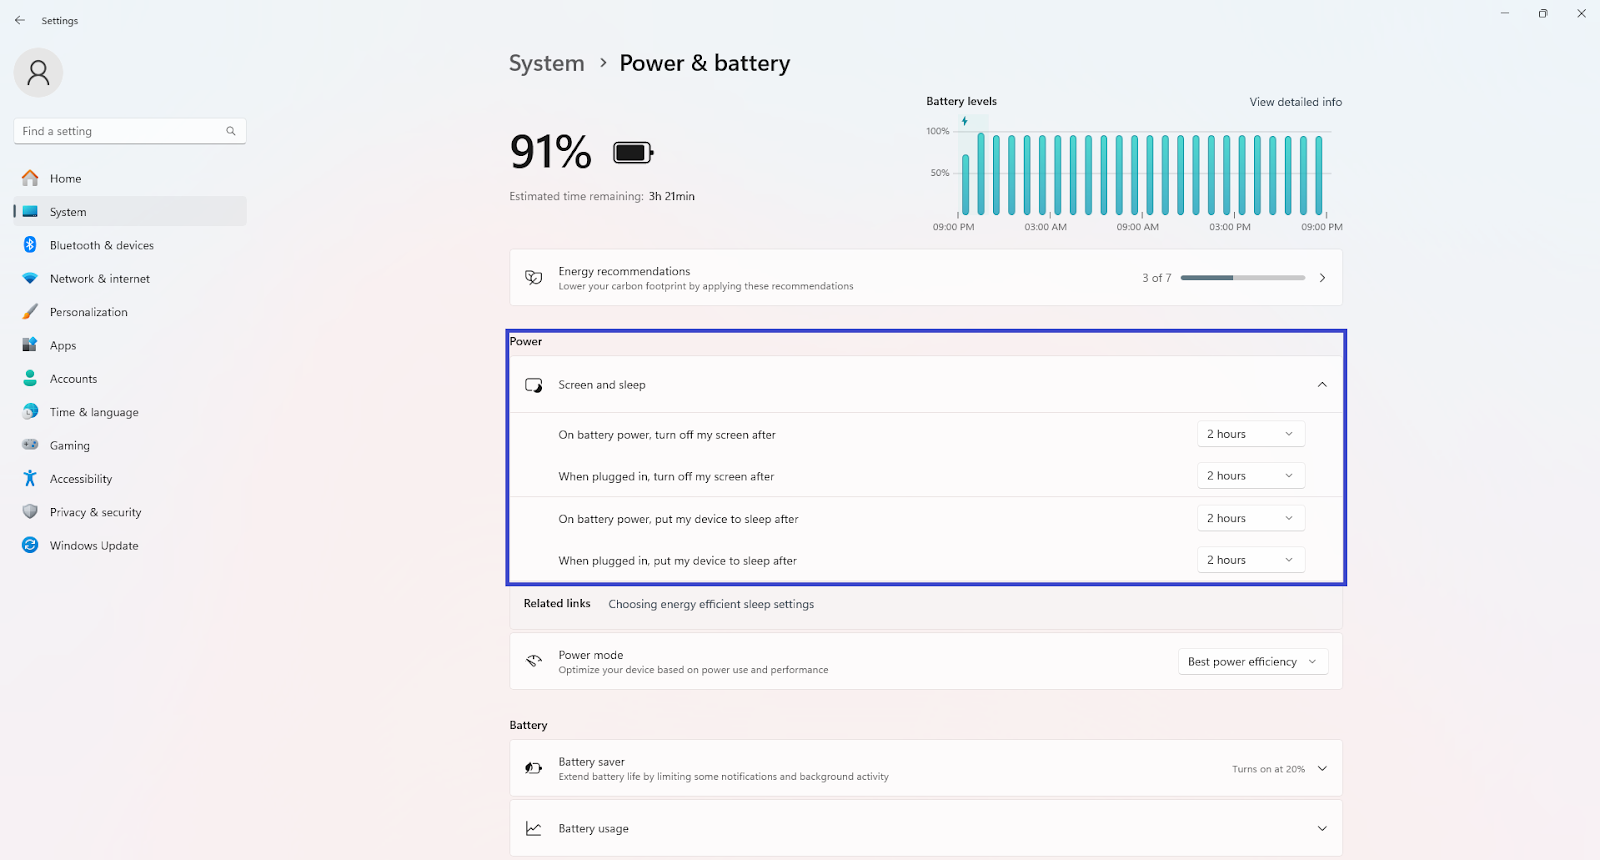
Here, you can adjust screen timeout settings according to your convenience.
I will now guide you on how to set the screen timeout from the Windows 11 Settings app.
Now, let's perform the same settings from the Control Panel.
-
Go to the Start menu and type "Control Panel." Then, navigate to "Hardware and Sound."
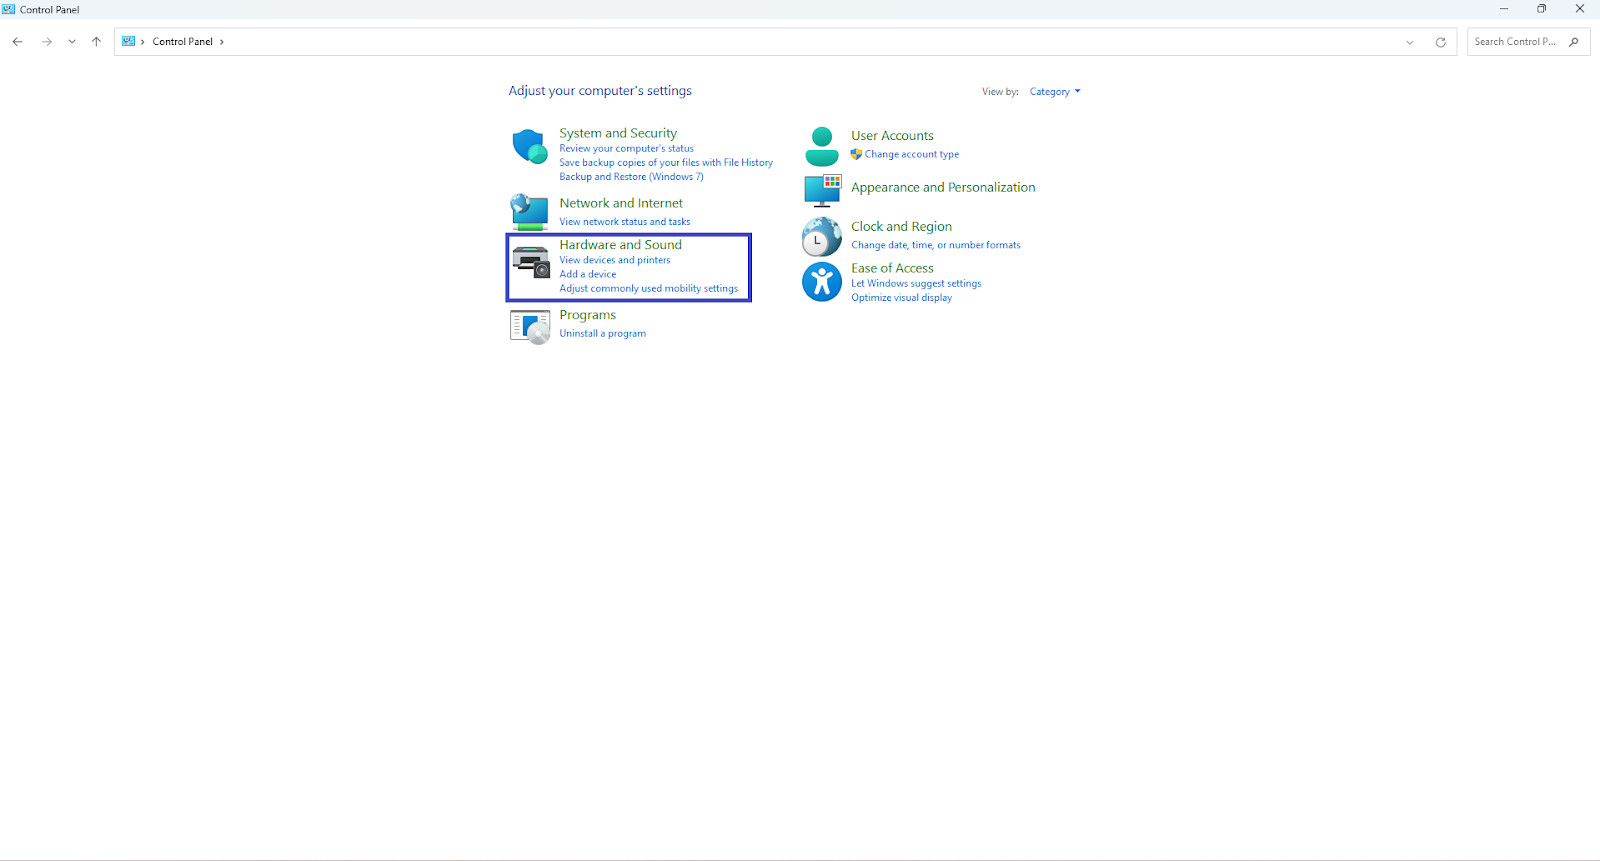
-
There you will find "Power Options"; just click on it.
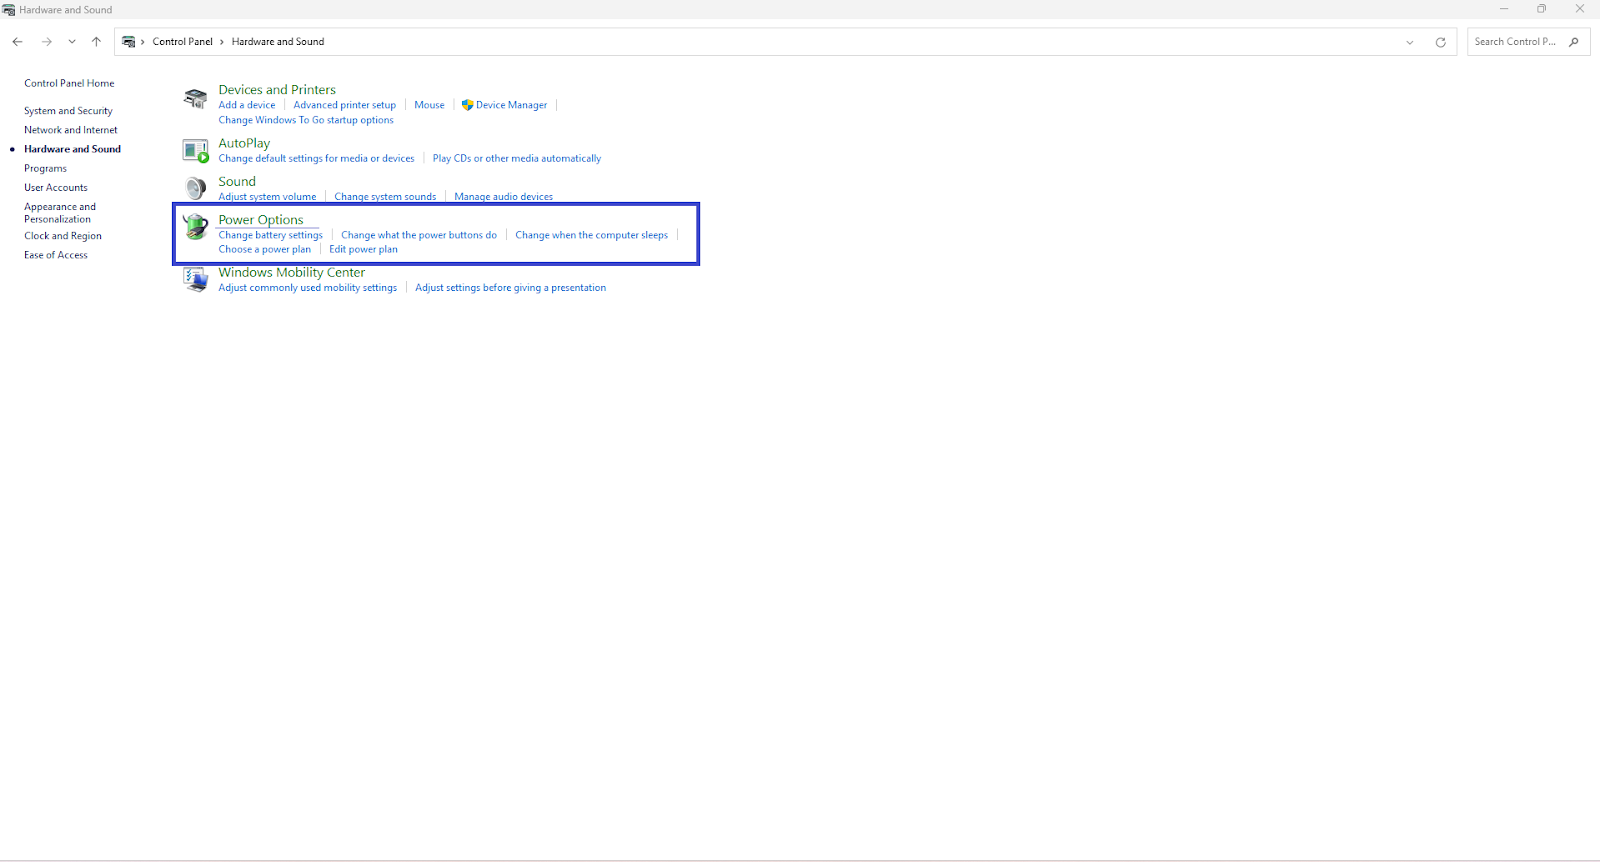
-
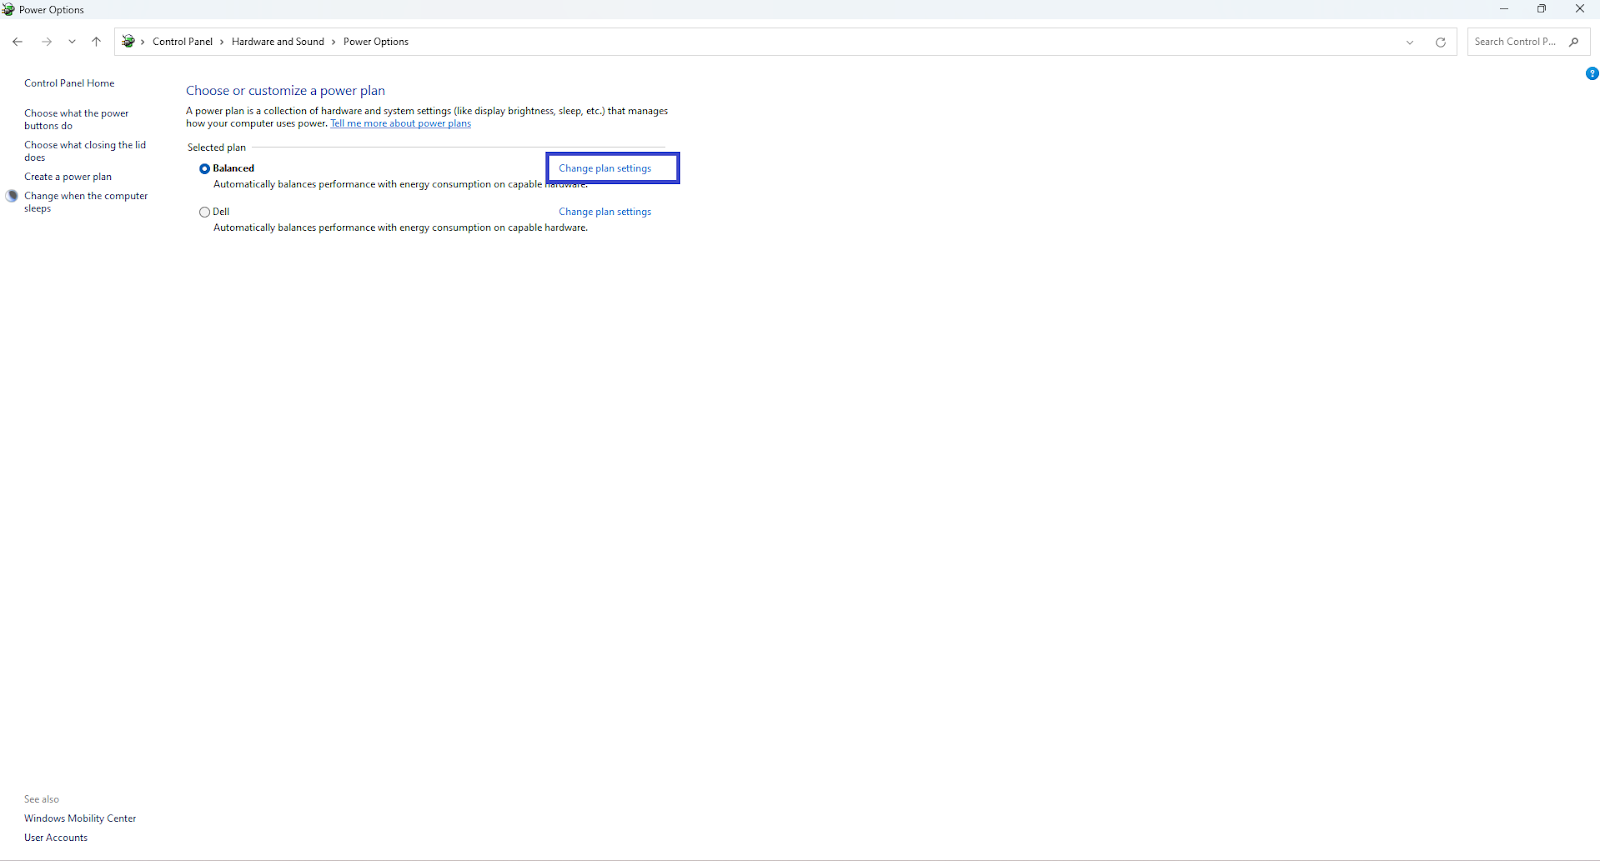
Click on the selected power plan, and then choose 'Change plan settings.'
-
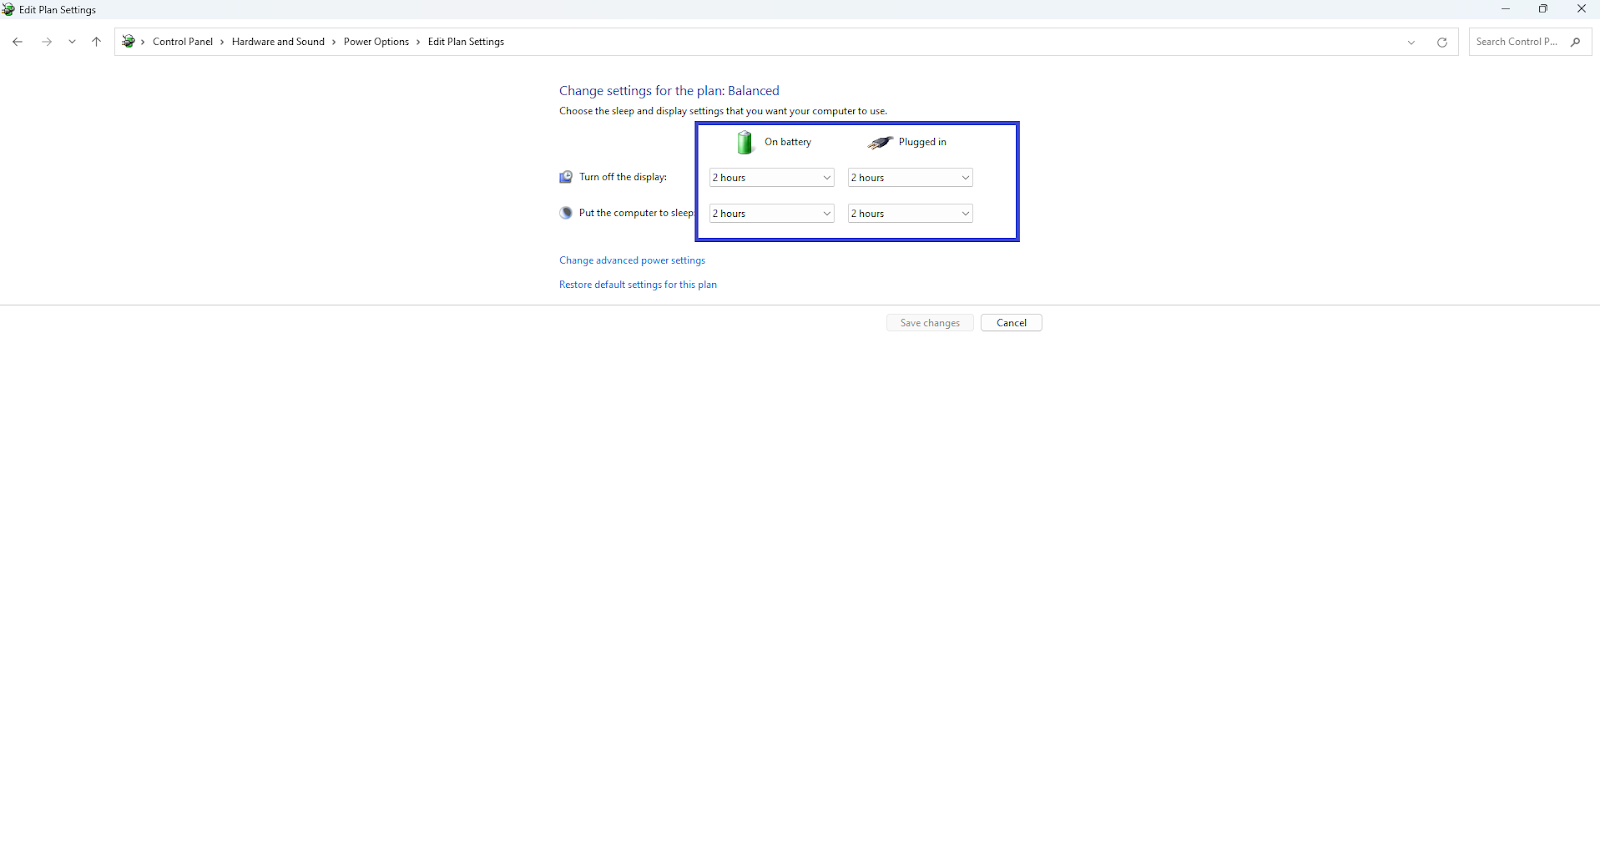
Here, you can find settings to change the screen timeout time as well as the sleep time. Adjust these settings according to your preferences.
Now that you've adjusted your computer's screen timeout settings, you can use your computer at its full potential with optimal performance.
Conclusion
Throughout this article, I've helped you adjust screen timeout settings so you can better use your desktop or laptop computer for Windows 11.
I have also mentioned the problems that uncontrolled screen timeout settings can cause and also provided solutions. So, you can use your computer to its full potential as the screen timeout setting also helps you to prevent battery drainage.
Screen timeout settings not only help you prevent battery consumption, but they also help protect your privacy and keep you free from hassles while using the computer.
So, I hope you can adjust the screen timeout setting yourself. I hope this blog is really useful for you and if so then please share it with friends so that they can also know about this small but powerful feature provided by Windows.
Finally thanks for putting up with me.